Watercolors are my absolute favorite painting medium and I could talk about them for hours. I get a lot of messages asking about supplies to get started with watercolors and so I decided to put all of my recommendations and thoughts together. Sooo if you want to get started with watercolor painting, welcome to the guide. I will cover the basic materials you need to get started.
In case that video is more your thing and you want to actually see me talking about supplies – scroll down to the bottom of this page and there you will find the video I made about art supplies.
Most Important
I get a lot of questions about the materials I use for my paintings and I am happy to answer these questions. But it is very important to me to point out upfront that you don’t need any particular brand of colors or some special paper to create something beautiful. When you are choosing your material, choose something that makes you want to paint! This can mean something different for everyone: if it’s the fancy set of colors you always had an eye on, get it! Is it the cute notebook on sale? Get that. Just don’t get something that is very expensive and makes you too afraid to use it or something that makes you think „I will only create my best work with this set of colors/brushes etc“. You might end up not using it at all and that is the last thing we want (talking from experience here). Ok, let’s go!

Paper
In my opinion, paper is the one thing that can easily take all the joy out of watercolors. You can draw masterpieces on cheap copy paper, even acrylics might work on it to some extent, but you won’t be happy if you try to use your watercolors with it. The normal copy or drawing paper can’t handle all the water you will apply, it will get wobbly and destroyed. So what should you buy?
Any paper that has the label „watercolor“ or „mixed media“ will do a much better job than copy paper. I know there are so many types and qualities of watercolor paper and it can be confusing. Let me break that down a bit for you.
Grammage – Hot/Cold Pressed – Grain
Grammage refers to the weight of the paper and tells you how much water it can handle. Grammage is usually indicated in gsm which means grams per square meter. Easily said: the more water you use the more gsm you need. Look for something that is at least 200 better 300 gsm. This is a good point to start with and you can adjust from there, depending on how much water you like to use in your paintings.
“Hot”- or “cold-pressed” paper refers to the production process of the watercolorpaper. I would recommend getting something cold-pressed, as it is a bit easier to handle when you are just starting out (and a personal preference).
The grain refers to the surface texture of the paper. There are rough and finer textured papers that will give you a different effect. I would start with something more fine/smooth and try the rough ones later. Especially if you plan to scan your paintings, turn them into prints/fabric/stickers it’s better to use paper which has a fine texture as a scan will also show the paper texture and you need to decide upfront if you would like that.
Which Paper do you need?
That brings us down to a 300 gsm, cold-pressed and fine-textured paper. Most companies sell these in various sizes. If you are starting out, you can go for something that is „student“-grade and usually way more affordable. You will definitely want to try different types of paper overtime to get a feel for what you like, but no need to rush!
Size-wise, I would recommend something not too big for the beginning, anything like an A5 size (around 6 x 8 inches) for example and scale up later. If you feel comfortable with a sketchbook you can get one of those. But keep in mind that they usually have less heavy paper (the ones I’ve seen and used are 200 gsm) and sometimes they tend to build up a bit of pressure on you to only do „perfect“ work in them.
Brand Recommendations
Since it depends on where you live prices and accessibility will vary for all the materials I recommend. Look around your local art store/internet what you can easily get in your area. Here are some of my recommendations (from less to more expensive):
Canson, I really like their mixed media paper and have been using it for years.
Arteza, I used their watercolor pads, 300 gsm for my 100 days series. They usually offer their paper with one side textured and one smooth, so you can try both.
Hahnemühle, great watercolor papers in all varieties and great watercolor sketchbooks with 200 gsm paper.
Van Gogh, I recently bought their cold-pressed 300 gsm watercolor paper and I love it!
Moleskine, known for their sketchbooks, the watercolor sketchbook also comes with 200 gsm paper.
Arches, really nice and high-quality paper; I prefer their cold-pressed papers.
Watercolors
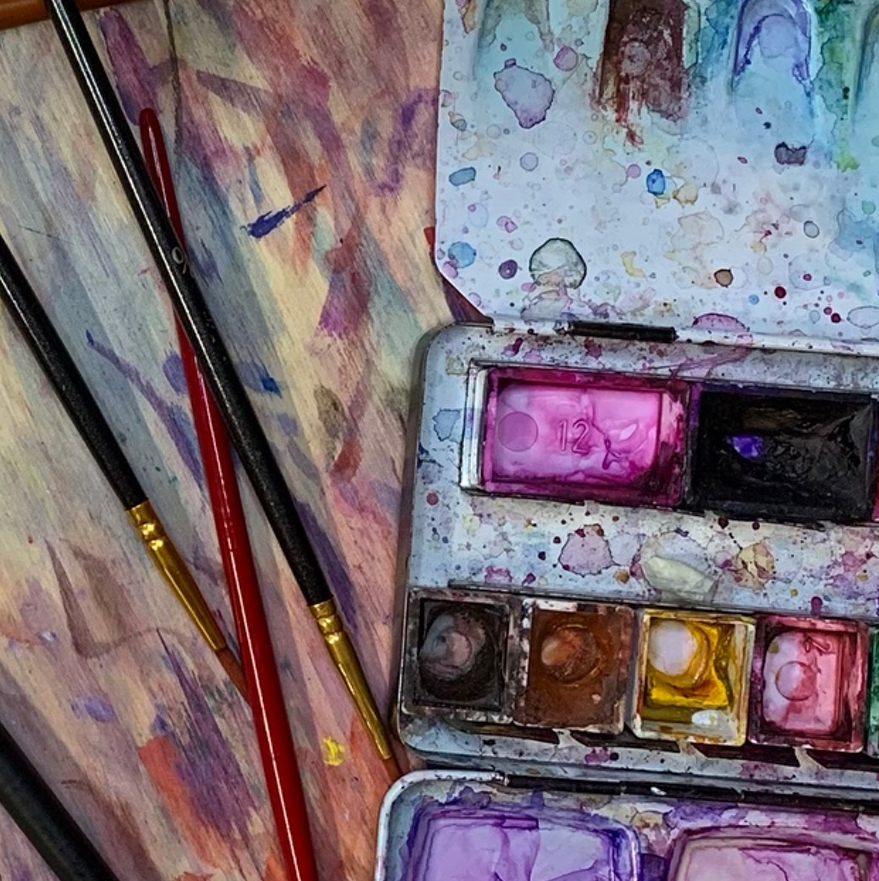
Watercolors are usually available in tubes or pods. The pods usually come in two sizes: half and full pods. In the pods, there is basically dried paint, so it doesn’t matter if you get your color in tubes or pods. You can either get an empty palette, put your colors into the pods and let them dry. Pods are often available in little color boxes with some extra areas reserved for mixing in the lid.

The great thing about watercolors is that in contrast to acrylic paint or oil paint, they can be re-activated with water at any time. So you can use all this mixing space and mix your colors, let them dry and use them again the next day – so you basically don’t have to waste any more left over dried colors. This and the fact that you overall don’t need much color, makes a watercolor set last for quite some time (I have had some colors for +10 years). So you might invest in a nice set/palette/box as it will hopefully stick with you and bring you joy for years to come.
Which Colors do you need?
My number one advice is: don’t get all the colors. It doesn’t matter much if it’s tubes or pods but, if you are starting to paint (with any medium) it might be tempting to get a larger set with all the shades because you dread the art of mixing. But the truth is you need to learn to mix your own tones and shades. Sure there are some shades and tones that are better to purchase ready to go (I personally had this experience with magenta), you can easily get a single tube or pod at any point later. I recommend buying a smaller set of colors in pods or tubes and a box/palette with lots of space for mixing and also space to add some colors later in your journey. Usually, you can find a starters set, with the base colors. If you want to make your own, make sure to get maybe yellow, red, and blue (one or two shades each) plus some black and a shade of green if you fancy.
Brand Recommendations
Again some recommendations, but depending on where you live these will vary in price and accessibility.
Schmincke, I use their colors in all my paintings as they are based in Germany and I love them. I started with one of their small boxes and a small set and just recently bought a bigger palette (and I am not so sure I really needed it, don’t judge me for not following my own advice please :D).
Daniel Smith, American based and the favorite of many artists. They are on the more expensive side, so I bought some single colors from them to try and yes they are nice, but I personally like the Schmincke colors better.
Windsor and Newton are well known for their high-quality watercolors at a reasonable price (never tried them).
Arteza sells watercolors as well (never tried them).
No name brands (from the supermarket etc.) – I have tried lots of really cheap colors throughout my life and they can be a great place to start, but most of them aren’t really fun (and do not really earn the term watercolors/aquarelle). As I explained above, a nice set of colors will stay with you quite a while and it doesn’t have to be expensive when you only get a limited set of colors at the beginning.

Brushes
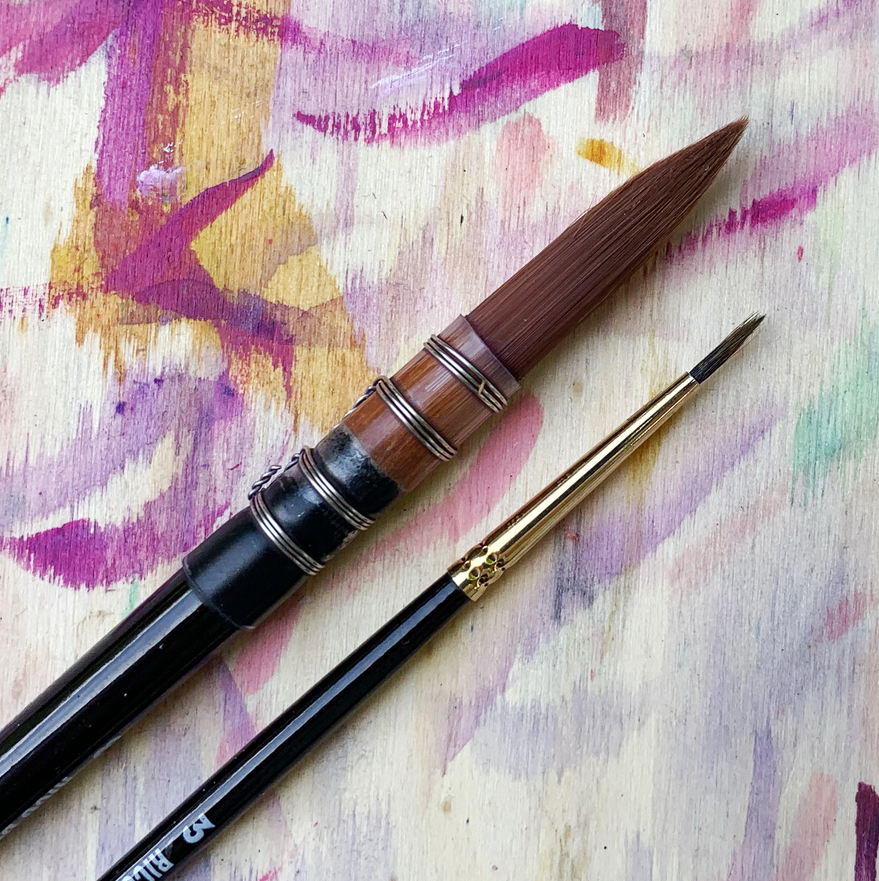
For paintings with watercolors you want to get yourself some softer „watercolor“ brushes -these are different from the ones you may know or own for acrylic painting. The brushes come in all shapes and sizes but also material. There are some very expensive watercolor brushes out there, made from kolinsky sable-hair, but the synthetical (and affordable) brushes will do just as fine.
Brush sizes matters
There is also a variety of brush shapes that are fun to experiment with but to start with I would recommend getting a set of round and maybe some flat/rectangular brushes in various sizes. Brush sizes are indicated with numbers, ranging from really really small „20/0“ – to still pretty small „0“ – to really really big „30“ (reminds me of suture sizes). I would recommend getting some brushes sized between 5/0 and 10. The 10 brush will appear pretty big at first but it is good to have it on hand to lay down a base color. I can’t recommend any brands for brushes as I pick them up irregularly whenever I am at an art store. If you have any special brush recommendations (for beginners), feel free to send me a message here or on Instagram and I will include them here!
There are also some special watercolor brushes with a water tank at the back. These are great to experiment with and I don’t know why I haven’t used mine in so long – they are fun, especially for painting outside!
Taking care of brushes
It is really important to take good care of your brushes because they are a bit fragile sometimes. Don’t let them sit in your water pot on the tip for too long, or they will lose their form! Always make sure to wash out all leftover colors and let them dry lying on a flat surface not standing up in a jar. I would also really recommend getting some brushes reserved only for watercolors and don’t use them with other media.
What else do you need?
Besides everything we covered there are some more supplies that I would recommend you get, to complete your watercolor experience:
Masking Tape
When you paint with watercolor you want to stick your paper to some kind of surface to prevent it from waving/curling. The trouble lies in removing the tape because it can destroy your paper (and I get tons of questions about this). There are some tricks to prevent it from doing that (and I will write a blog post about that soon).
The easiest way is to use some extra sensitive tape. It can be a bit more expensive but it is totally worth it as it prevents you from the heartbreak of destroyed paper. If you happen to have some washi tape on hand (maybe some with a not-so-nice pattern) you can also use that as it peels off smoothly.
Masking Fluid
Another great tool for watercolor art. As you can tell from its name it is a fluid masking tape, which you apply to parts of your paper. You do that in places where you don’t want any color to go. After you finished painting you can just rub or peel it off and it will show your paper or the color underneath again. This is a great way to make highlights (which can be a bit tricky with watercolors).
Another way to create a white highlight is to use a white gel pen or some white acrylic/gouache paint.
Before you get started…
You need some sort of pot for water – an old mug (one that doesn’t fit in your cupboard anyway) will do just fine. It is good practice, but not absolutely necessary, to use two pots, one to wash off the pigments and one with clean water, so you don’t mess up colors with stained water.
Look for a flat surface to stick your paper on or paint directly onto the watercolor paper pad. As watercolor is water solvable you don’t have to be afraid of leaving color stains, but it is nice to have a firm surface to paint on. A spare wooden board or just a clean table is a good choice. A smaller clip chart can also be a great option!
It is also good to have some paper towels, a sponge, or a cloth on hand when you want to take some water or paint off your paper or want to dry your brush.
You don’t need any special clothing because watercolor washes out pretty easily. But beware of the fancy masking fluid, as this leaves the worst stains which will never wash out!
And that’s all I have to say before you can get started. I hope you have a great time exploring watercolors. Feel free to send me a message here or on IG if you have any questions or recommendations!
And for those of you who are more into video format – I also made an IGTV Video! Check it out below 🙂

